January 21, 2014
HOW TO – DIY envelope liners
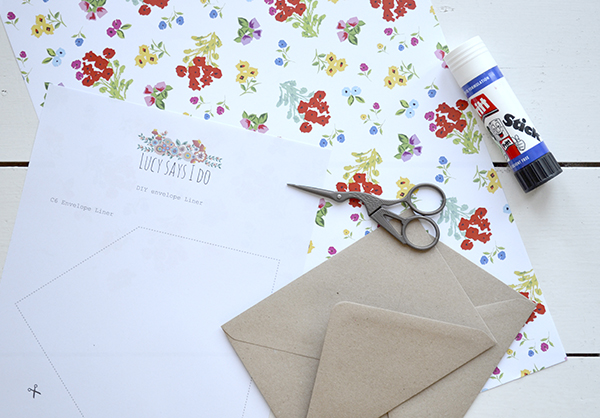
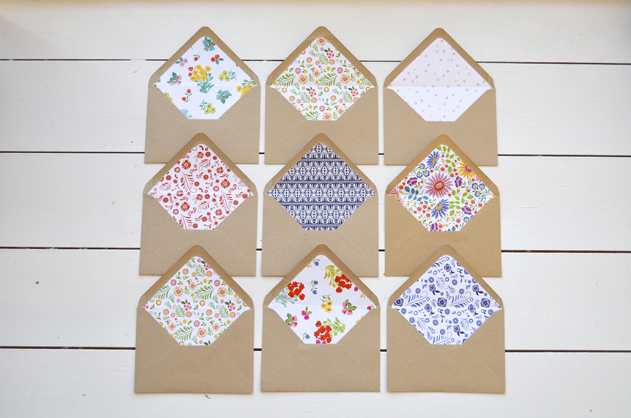
We showed you our new pretty papers that we designed in response to lots of lovely people getting in touch about matching envelope liners for their Lucy says I do wedding stationery. So we thought it was only right that we also provided you with ‘HOW TO’ guide to making your envelope liners.
What you’ll need:
1. Envelope Liner template Click here to get it.
2. Paper for your liners (patterned paper)
3. Glue stick (preferably a dry glue otherwise things can get quite messy!)
4. Scissors
5. Envelopes
Step 1
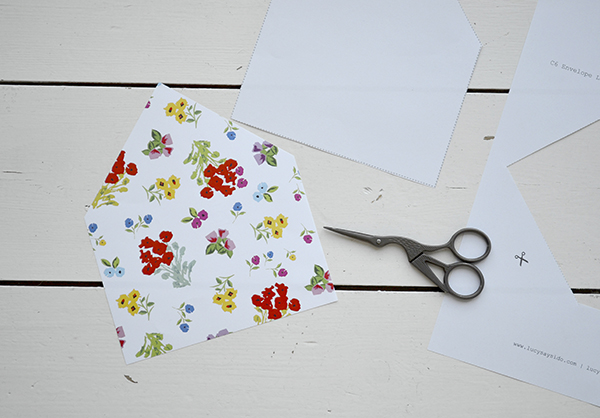
Print out your template onto sturdy paper or card (the thickest that your printer can handle, as you’ll be using it a lot and it needs to be robust). Cut out your template by following the dotted lines.
Step 2
Draw around your template onto the liner paper, and cut out your envelope liners. Our paper sheets come in A3 size (297 x 420mm) and the size of your envelope will determine the number of liners you’ll be able to get out of each sheet. You can usually get 2 x C5 envelope liners, 2 x 133 x 184 mm envelopes or 4 x C6 envelopes out of each A3 sheet.Start producing your liners either with scissors (or guillotine if you have one).
Step 3
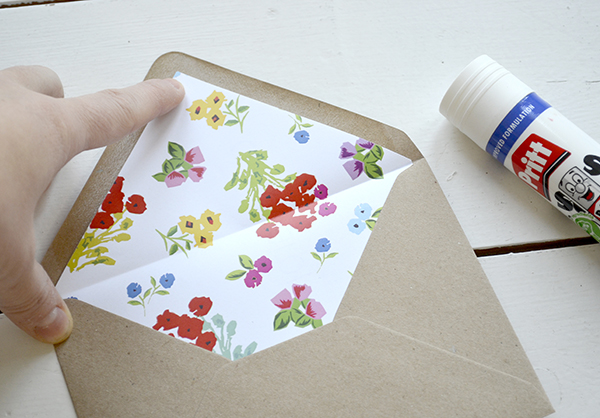
One by one slot your envelope liners into your envelopes. Using only a little bit of glue secure your liners to the envelopes. Make sure that the liners are stuck below the sticky glue line of your envelopes or they may not stick closed.
Step 4
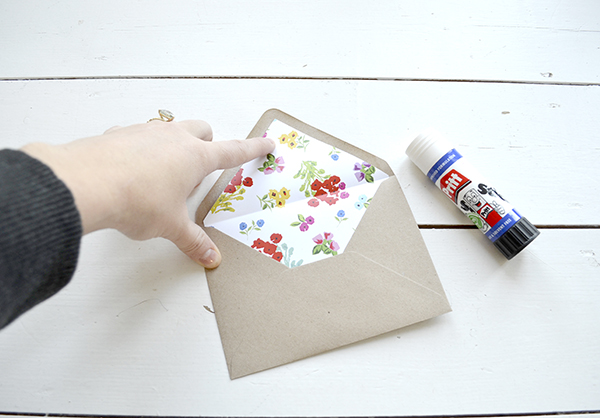
Finally carefully fold the envelopes, to make a crease in your liners.
I hope that all makes sense!
Send us an email if you’d like more information about our envelope liners.

